
No Time to Practice? Here’s How to Keep Progressing Anyway
If you’ve been struggling to find time to practice your instrument lately, you’re not alone. Life is full—between work, school, family, and everything else, it’s easy for m
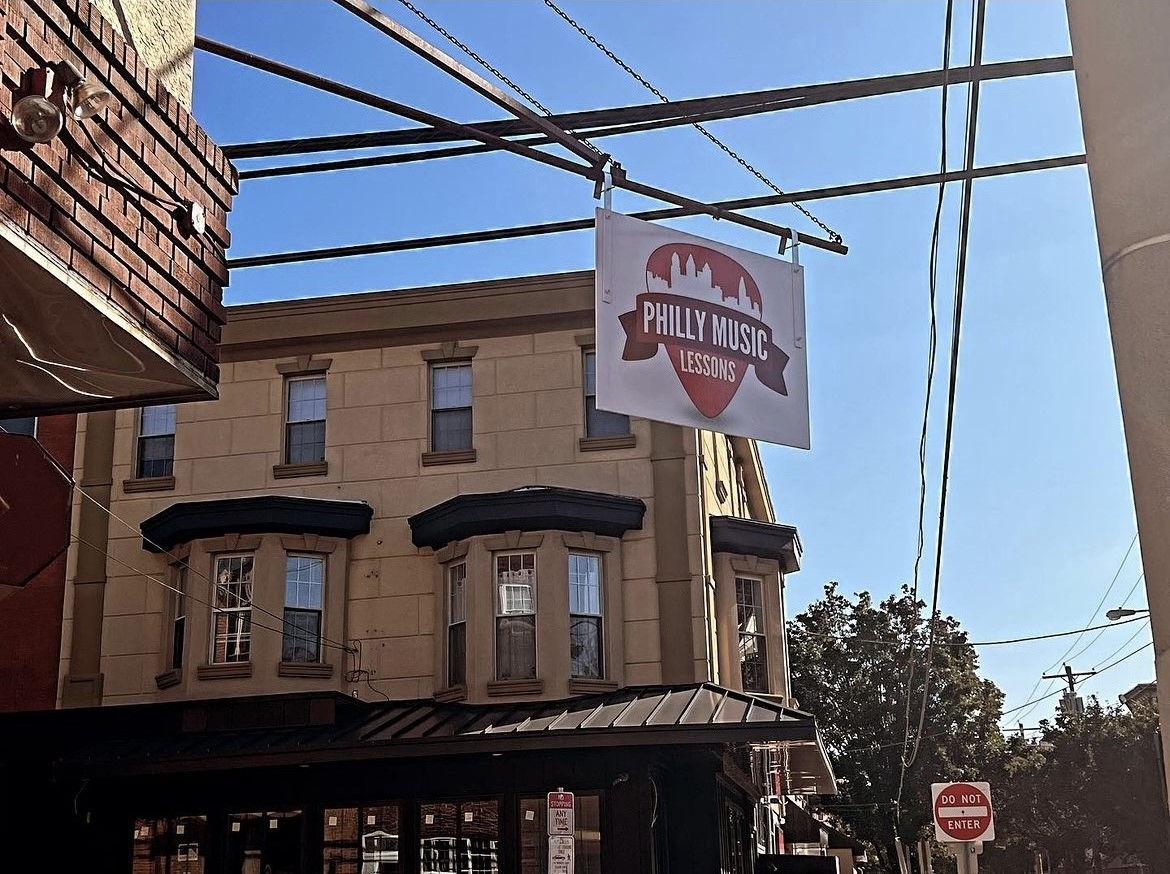
Fly Eagles Fly: Get Ready for Game day with Philly Music Lessons
This Sunday, the Eagles face the Rams at Lincoln Financial Field in the divisional playoffs, and the city is buzzing with excitement. The energy in Philly is electric as fans gear
What Instrument Should You Learn?
Take the quiz to find out! Ever wondered which instrument is perfect for you? Whether you’re drawn to the spotlight or prefer to harmonize in the background, this fun quiz will h
How Music Lessons Can Help Beat the Winter Blues
Winter can be a challenging time for many of us. Shorter days, colder temperatures, and the post-holiday lull can leave us feeling less energetic and even a little down. But what i

The Transformative Power of Music: How Learning an Instrument Benefits Mental Health
At Philly Music Lessons, we believe in the incredible power of music—not just as an art form, but as a vital tool for enhancing mental health. As we observe World Mental Health D
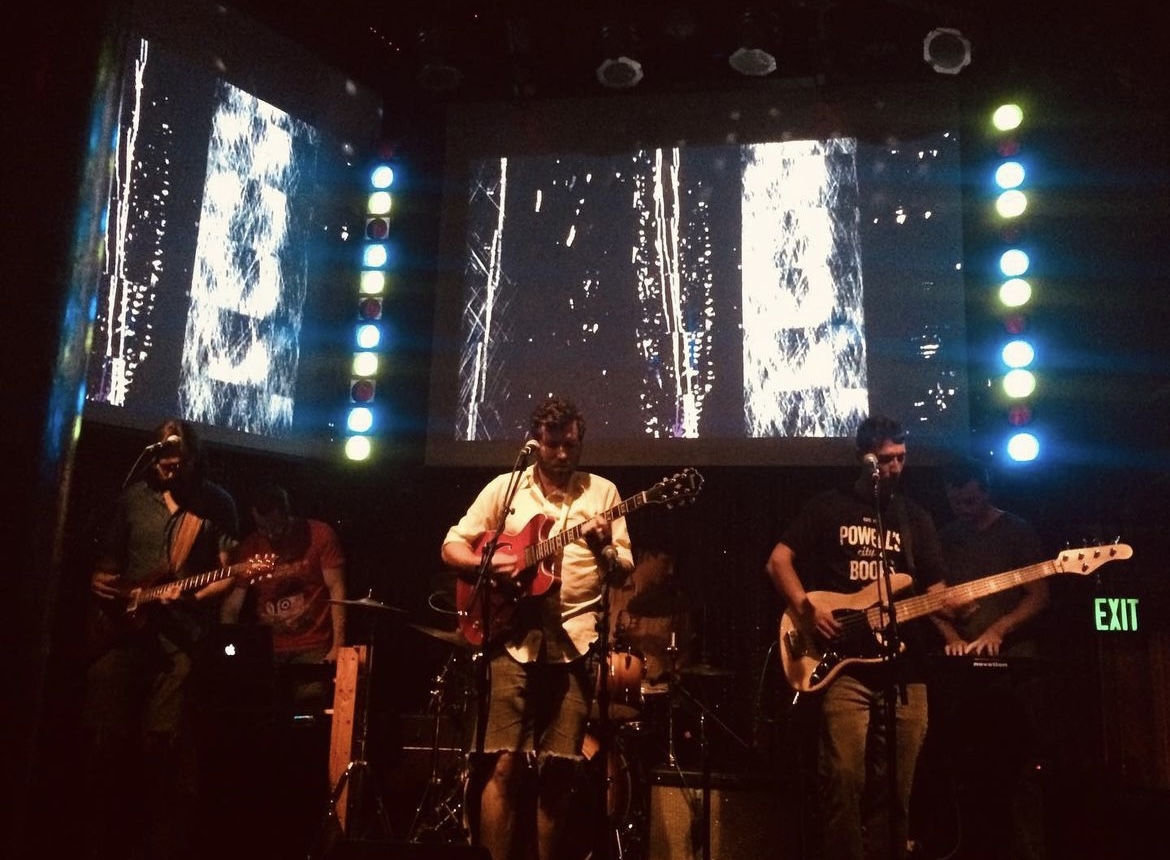
Top Five Live Music Venues in Philadelphia
Looking for something exciting to do this weekend in Philadelphia? Whether you’re a local or just visiting, Philly’s vibrant music scene has something for everyone. From intima
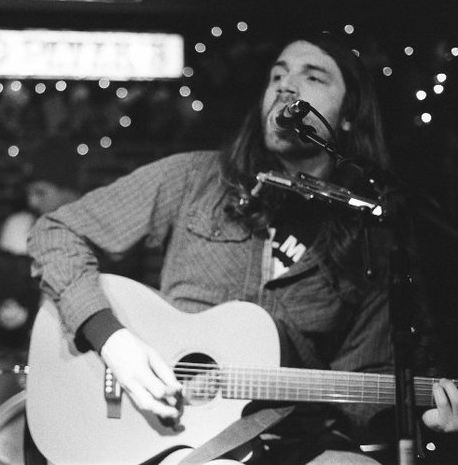
Discover the Best Music and Theatre Events in Philadelphia this Fall!
As the crisp air of autumn settles in, Philadelphia’s vibrant arts scene comes alive with an array of captivating performances and cultural events. From blockbuster Broadway show
fishtown: neighborhood event
Looking for a fun (and free!) event for the whole family this weekend? Former Philly Music Babies teacher, Claire Abribat, will be at our neighboring bookstore! Storytime is back
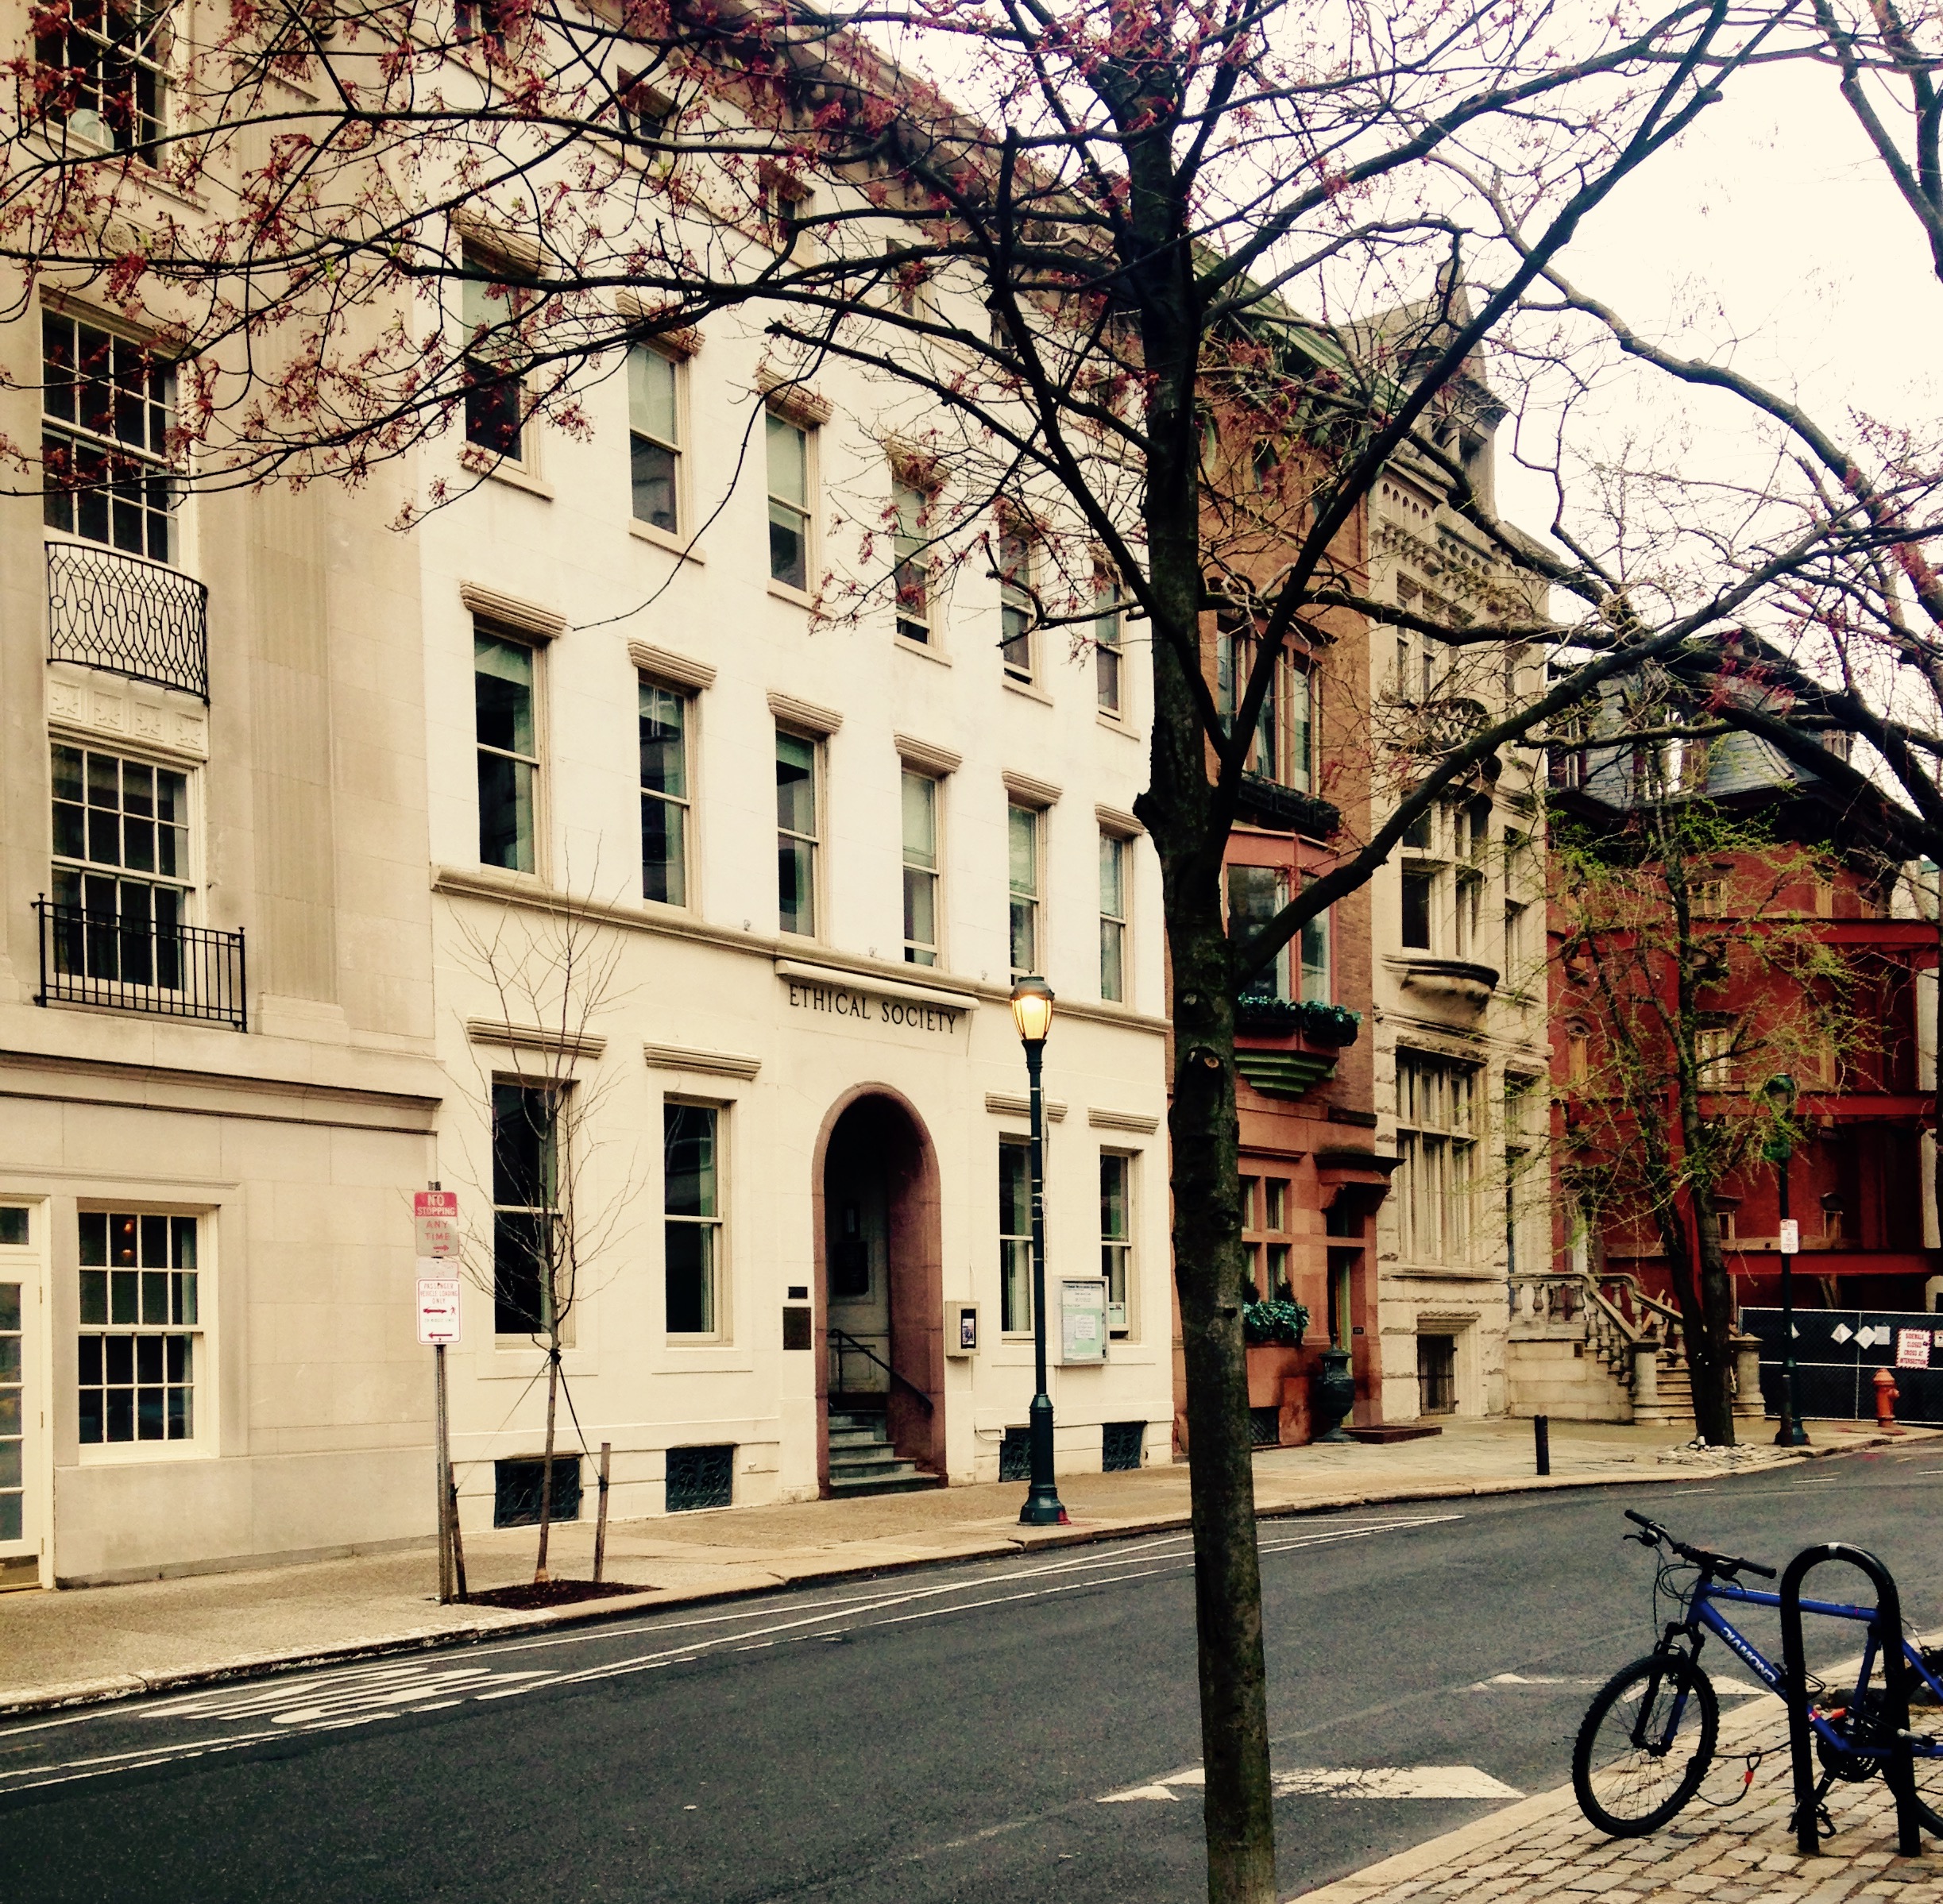
Spring Recital Coming Up May 18th
The Philly Music Lessons Team is thrilled to invite you to our Spring recital! Join us in celebrating the accomplishments of our talented students at the Philadelphia Ethical Socie